It’s fair to say that over the past year, people have a newfound love for hobbies that had once been forgotten about, or that life simply got in the way of. But when our homes became our safe haven once more and when life slowed down, we began investing in them and many took the DIY approach.

We caught up with Joanna of Mended Willow, a furniture flipper from London, to share with you her top tips for ‘flipping’ furniture and giving furniture it a new lease of life.

Once you have found a piece of furniture that you wish to upcycle, the first part of the process if to identify the materials of your piece as best as possible. It is important to decipher if the piece is wood/wood veneer or if it’s MDF. Please note that the following process will only work for wood and wood veneer (which most vintage or antique pieces are).

Once you know what you are working with, Joanna advises to clean the piece with a degreaser twice. Using a kitchen degreasing spray, spray down the piece and let it sit. You will find that older pieces have lots of build up over the years from food, drink and people touching it and transferring oils from their hands over time. Joanna recommends cleaning the piece of furniture twice with a clean lint free cloth and then allowing to dry completely.
Once the piece of furniture has dried, you can move on to sanding. To prepare your item for painting, sand the bits you would like to paint very quickly - this should take no more than ten minutes. The purpose of this is to give something for the /paint to stick to. You do not need to take all of the varnish or paint off unless you think it will affect the smoothness or finish of your paint.

Once sanded, it is time to prime (never skip this step, especially if painting white!) Joanna recommends a water based primer which means you can wash your brushes after with hot water and soap (as opposed to white spirit cleaning after harsher shellac/oil primers).
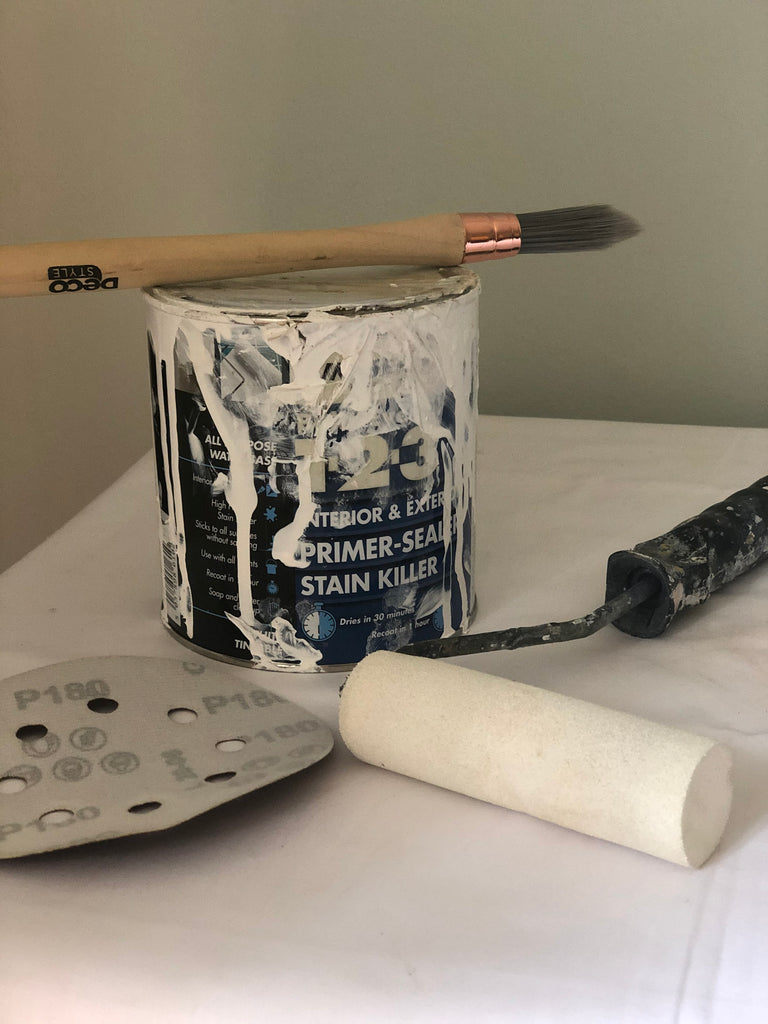
Paint 2 coats and follow directions on the can for drying times and be sure to gently sand in between coats with a 120+ grit sandpaper.
Now we get to the exciting part – it is time to paint!
You will need a paint roller as well as paint brushes for any detailed areas, a paint roller tray and your colour of choice. Gather a clean towel/rag, container with water for cleaning brushes and frog tape (recommended brand). For this project, Joanna recommends Farrow & Ball 750ml Estate Eggshell White Tie No.2002. This finish is perfect for interior wood. It’s water based paint, excellent quality and you do not need to seal it which is a huge bonus! This particular colour is a beautiful warm, creamy white that brightens without being harsh.
Paint on the product and let dry at least four hours in between coats. Take your time and clean any drips as you go with a damp rag or white spirit where necessary. For the waxed finish on this piece, a clear wax was chosen to help the wood remain light in appearance and matte, but bring out some of the natural wood grain. You can buy white wood wax if you want a more weathered look!

And lastly? Place your gorgeous Burleigh Pottery pieces in your new masterpiece and stand back in awe of your work!